Dedicated Status Areas: Show Each Part's Status and Next Required Action
Use clearly assigned spaces so anyone can tell where a part belongs, what status it is in, and what must happen next.
- Creator
 American Precision Engineering
- Company
- American Precision Engineering
- Wastes
Parts without a clear home or visible status can sit waiting, pile up as mixed inventory, and force people to ask or guess what action is required next.
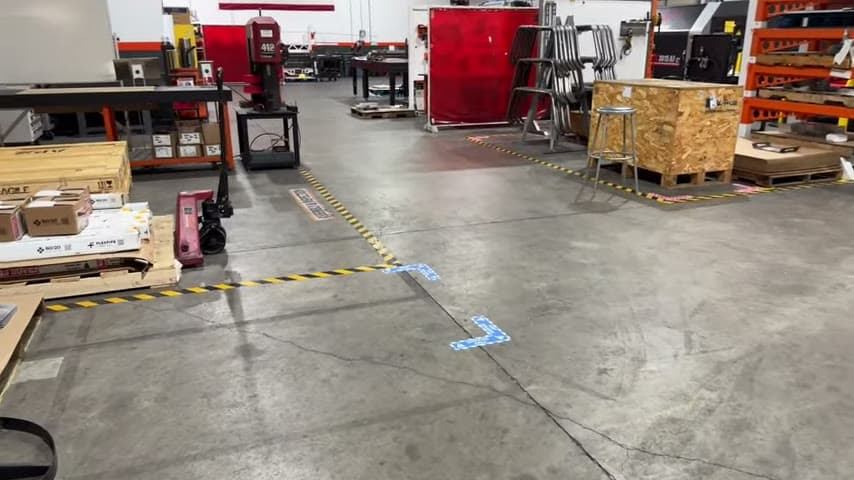
The team created more dedicated areas for parts so the location of each item shows its status and lets everyone know what needs to happen next.
Make status visible so proven next actions are easy to reuse.
What is a Dedicated Status Areas?
A dedicated status area is a defined place for parts based on their current condition and the next required action. The location carries the information, so people do not have to rely on memory or repeated verbal updates.
In this example, the team already focused on keeping the area organized and giving everything a home. They improved that system by adding more dedicated areas to show status, so the space itself tells everyone what needs to happen.
This turns shop floor knowledge into a visual standard. Anyone can read the work area, follow the same decision logic, and avoid re-solving the question of what should happen to each part.
Why it works
Dedicated status areas reuse process knowledge by making the correct next action visible at the point of work.
- Makes part status visible without needing a separate explanation.
- Adds value by helping people act on the right part with the right next step.
- Mistake-proofs the flow by reducing guesswork about whether a part is ready, waiting, or needs another action.
- Reduces waiting caused by unclear status or unclear ownership.
- Controls inventory by keeping different statuses separated instead of mixed together.
Evidence: The transcript says the team keeps everything organized, gives everything a home, and added more dedicated areas so the space lets everybody know what needs to happen.
How to create this idea
- 1List the statuses
Write the few status categories that matter in the process, such as ready, waiting, needs inspection, rework, or complete. Use only categories the team can recognize consistently.
- 2Assign a home
Create one dedicated area for each status. Make the boundary and name clear enough that a part's location communicates its condition.
- 3Define the next action
For each area, state what must happen next. The area should answer both questions, what status is this, and what do we do now.
- 4Move parts by status
Make moving a part into the correct area the standard way to update its status. Do not let different statuses share the same unmarked space.
- 5Ask for feedback
Walk the areas with the people who use them. Adjust the categories or layout when the team sees a clearer way to show status and next action.
Best used when
- multi stage work
- shared work areas
- frequent handoffs
- unclear status
- mixed inventory
Less useful when
- single step work
- instant handoff
- no status variation
- fully digital tracking
Tags
- Problem
- waitinginventoryunclear status
- Lean methods
- visual management5Smistake-proofingstandard work
- Application
- parts flowwork in processshop floor
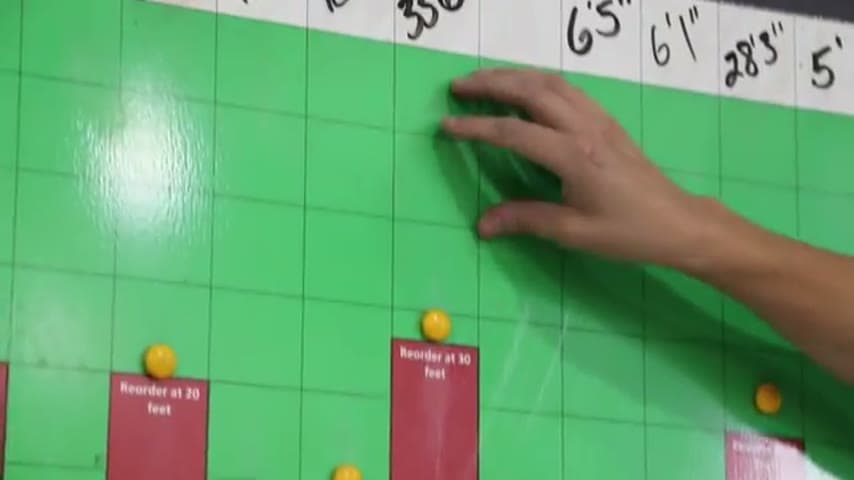
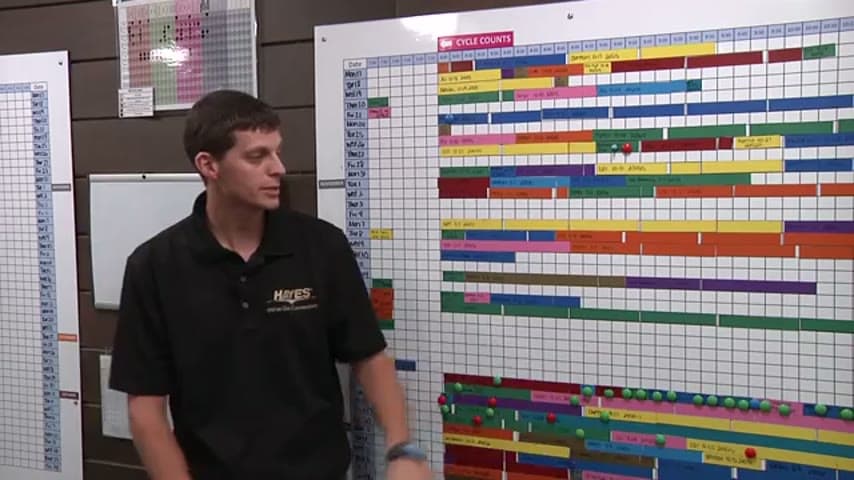
Captured from American Precision Engineering at American Precision Engineering in the video "Tour of APE's lean shop", at 00:00:52. On Lean Toolbox. Watch the original video on YouTube ↗