Clear Stickers on Door Frame Boxes: Prevent Standard and Deadbolt Part Mix-Ups
Visible stickers make the standard versus deadbolt difference clear before incompatible frames and leaves are paired or shipped.

- Creator
 TheAMEConnect
- Improvement date
- June 16, 2024
- Company
 Southwest Steel Buildings
- Wastes
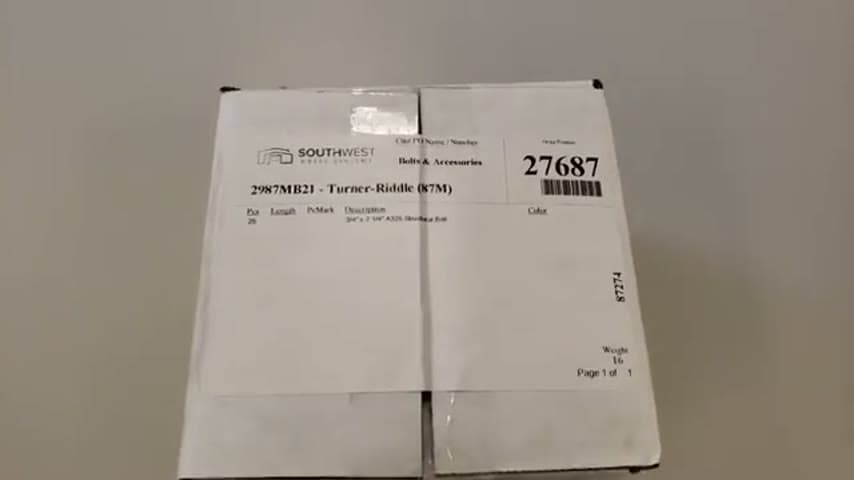
Standard frames and deadbolt frames are not compatible, but the information on the box was not clear from a normal viewing distance. Deadbolt frames were going out with standard leaves, and standard frames were going out with deadbolt leaves.
The team added clear stickers to door frame boxes during receiving and packaging so people can see whether the contents are standard or deadbolt before pairing or shipping parts.
Make critical compatibility knowledge visible where the work happens.
What is a Clear Stickers on Door Frame Boxes?
A clear sticker on a door frame box is a simple visual control that shows whether the boxed part is standard or deadbolt. It makes the part type obvious without relying on small printed box information.
In this case, the needed information was already on the box, but it was too easy to miss when someone stepped back. The sticker makes the proven identification rule visible and reusable for everyone handling the box.
The goal is mistake-proofing. The sticker helps prevent incompatible frames and leaves from being mixed before they become a shipping defect.
Why it works
The sticker turns known compatibility knowledge into a reusable visual signal at the point where the mistake can happen.
- Makes the standard versus deadbolt distinction visible instead of hidden in small box text.
- Adds value by helping the next process and the customer receive compatible parts.
- Mistake-proofs pairing and shipping by making the wrong match easier to spot.
- Reuses the team's known rule about incompatibility so each person does not have to rediscover it.
Evidence: The transcript states that standard and deadbolt parts are not compatible, that wrong combinations had gone out, and that the team started adding stickers because the box information was not clear from farther away.
How to create this idea
- 1Find the mismatch
List parts that look similar but are not interchangeable. Write the exact wrong combinations that must be prevented.
- 2Choose the label message
Use an adhesive label or sticker that clearly identifies each variant, such as standard or deadbolt. Make it readable from the normal working distance.
- 3Apply at receiving
Add the sticker when parts come in so the identification travels with the box before storage, picking, or staging.
- 4Verify at packaging
Use the sticker as a check before frames and leaves are paired or shipped. Treat a missing or unclear sticker as a reason to stop and confirm the part type.
- 5Standardize placement
Put the sticker in the same visible location on every box. Teach the rule so everyone looks in the same place for the same information.
Best used when
- similar variants
- incompatible parts
- shipping defects
- receiving checks
- packaging work
Less useful when
- single variant
- obvious differences
- labels will not stick
- information changes often
Products and tools mentioned
- adhesive labels: Used as clear stickers on door frame boxes to identify standard or deadbolt parts.
Tags
- Problem
- defectspart mix-upwrong shipment
- Lean methods
- visual managementmistake-proofingstandard work
- Application
- receivingpackagingshipping
Captured from TheAMEConnect at Southwest Steel Buildings in the video "AME 2 Second Lean Tour: Southwest Steel Buildings", at 00:19:55. On Lean Toolbox. Watch the original video on YouTube ↗