4 Inch Hole Puncher Standard: Adjust the Tool to Prevent Mispunched Holes
Set the hole puncher to the proven 4 inch standard so future holes are punched in the correct location.

- Creator
- Hunter Trim & Cabinets
- Company
- Hunter Trim & Cabinets
- Wastes
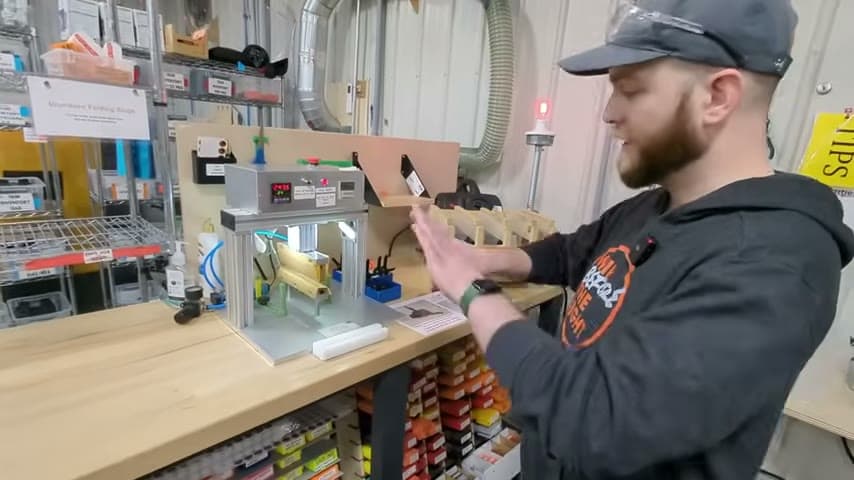
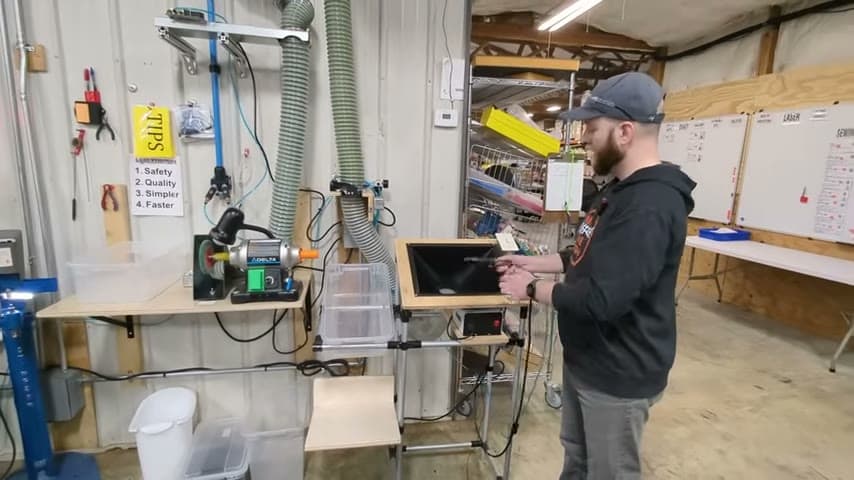
The hole puncher was supposed to match the 4 inch standard, but the one on the right was about 1/16 inch off, which risked mispunched holes.
The operator tested the hole puncher, found the offset, adjusted it, and confirmed it was back at the correct 4 inch measurement.
Build the standard into the tool so correct work is repeated without guesswork.
What is a 4 Inch Hole Puncher Standard?
A 4 inch hole puncher standard is a simple tool setup where the punch location is checked and adjusted to match the required 4 inch measurement.
In this case, the hole puncher was about 1/16 inch off. That small error could be easy to overlook, so the operator tested it against the standard instead of relying on judgment.
After adjustment, the hole puncher became a reusable standard. The correct measurement is no longer just known by one person, it is built into the tool setup so the next user can produce the same result.
Why it works
This works because the correct setting becomes visible and reusable, which prevents people from repeating a known error.
- Reuses knowledge by turning the 4 inch requirement into a tool setup everyone can rely on.
- Adds value by helping each punched part meet the required measurement the first time.
- Mistake proofs the process by removing the need to compensate manually for a known 1/16 inch offset.
- Makes future drift easier to catch because the puncher can be tested against the same standard.
Evidence: The transcript says the standard is 4 inch, the puncher was about 1/16 inch off, and after fixing it the measurement was correct.
How to create this idea
- 1Define the standard
State the required hole location clearly, such as 4 inch. Do not adjust the tool until the target measurement is clear.
- 2Punch a test piece
Run a sample through the hole puncher. Measure the actual hole location against the standard.
- 3Record the offset
Note how far the puncher is off, such as 1/16 inch. This turns the problem into a specific correction instead of a guess.
- 4Adjust the puncher
Move the puncher setting until the test result matches the standard. Keep the adjustment tied to the required measurement.
- 5Confirm the result
Punch another test piece and measure again. Return the tool to use only after it matches the standard.
- 6Make the standard visible
Mark or post the required measurement near the hole puncher. This helps future users reuse the correct setup and notice when the tool is off.
Best used when
- shared tools
- repeat holes
- fixed standards
- small offsets
Less useful when
- one time work
- variable layouts
- no clear standard
Products and tools mentioned
- Hole puncher: Adjusted and tested so it punches at the 4 inch standard.
Tags
- Problem
- defectsmispunched holesmeasurement error
- Lean methods
- standard workmistake proofingvisual management
- Application
- hole punchingtool setupfabrication
Captured from Hunter Trim & Cabinets at Hunter Trim & Cabinets in the video "Lean Improvements 7/31/26", at 00:01:33. On Lean Toolbox. Watch the original video on YouTube ↗