3D Printed Model Slugs: Fold Each Holster Shell Consistently
Use a model-specific 3D printed form so every heated holster shell is folded to the proven shape.
- Creator
 Audacity Micro
- Company
- Henry Holsters
- Wastes
Heated holster shells can be folded inconsistently if the operator has to judge the shape by hand, creating fit defects between models.
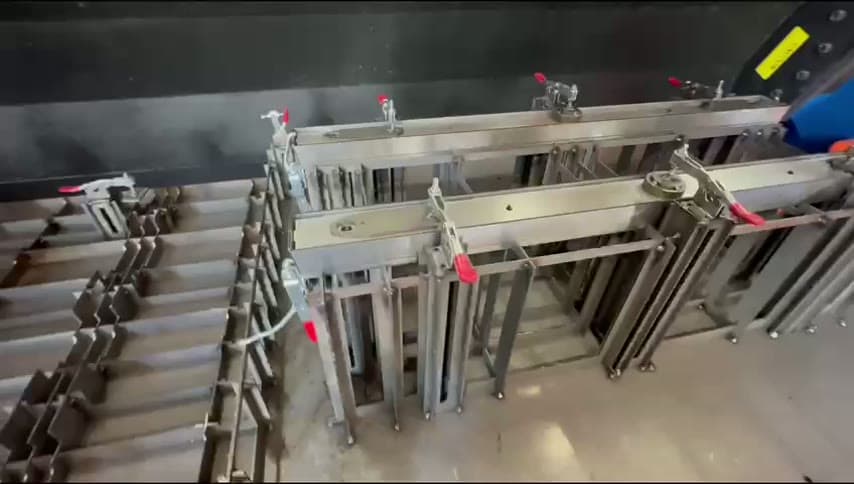
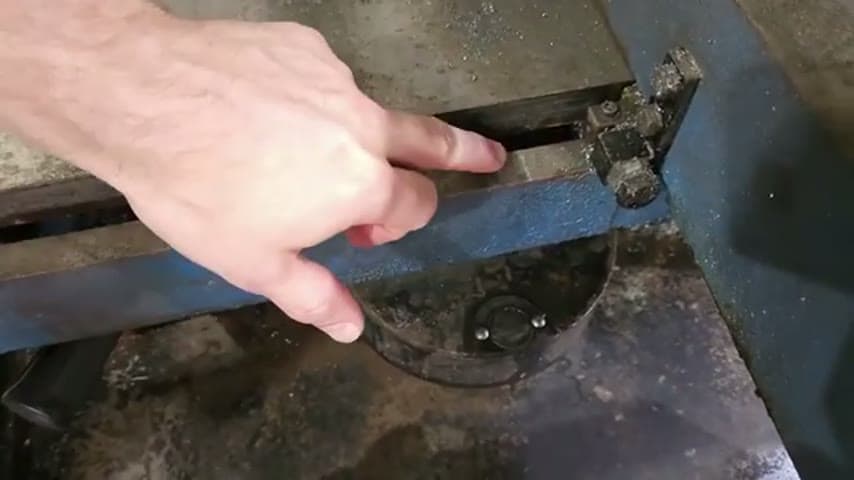
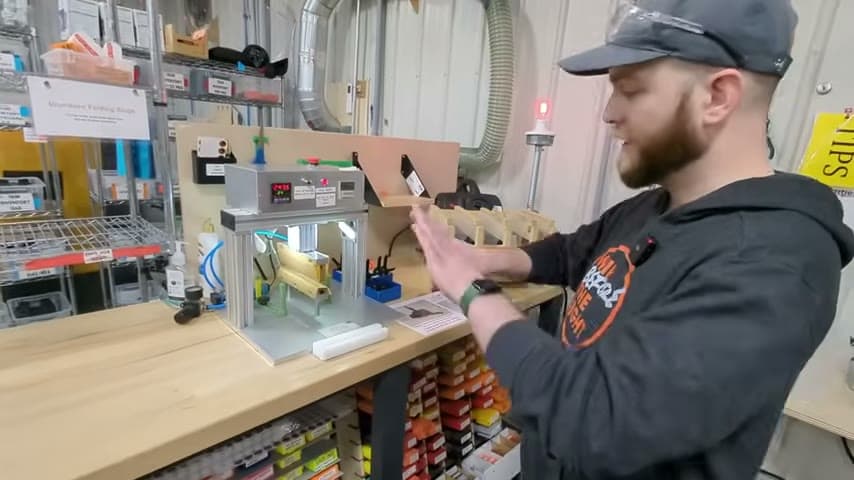
The team heats each shell in a top and bottom strip heater with time and temperature settings, folds it around the matching 3D printed slug for that gun model, clamps it, and sets it on a cooling rack.
Make proven product knowledge visible and reusable in the fixture.
What is a 3D Printed Model Slugs?
A 3D printed model slug is a physical forming reference for a specific holster model. The heated shell is folded around the slug so the finished shape follows the same proven geometry each time.
In this process, the team has 3D printed slugs for every gun model they make. The slug turns model knowledge into a reusable tool instead of relying on memory, feel, or individual judgment.
The slug works with standard heating and cooling. The strip heater controls time and temperature before forming, the clamp holds the fold, and the cooling rack supports the part while the shape sets.
Why it works
The slug reuses proven fit knowledge and makes the correct fold hard to miss at the point where a defect can be created.
- Knowledge reuse: each gun model has its own slug, so the correct shape is captured once and reused on every matching shell.
- Added value: the operator focuses on forming the shell to the required fit instead of rediscovering the shape by trial and error.
- Mistake-proofing: the physical slug guides the fold and makes model-to-model mixups or inconsistent forming easier to catch.
- Standard work: the set heating step, matching slug, clamp, and cooling rack create a repeatable sequence.
Evidence: The transcript states that shells are heated in a top and bottom strip heater with time and temperature settings, then folded around a 3D printed slug, with slugs for every gun model they make.
How to create this idea
- 1Find the variation point
Identify the step where the part shape depends on judgment. Here, the risk is the fold after the shell is heated.
- 2Define each model shape
Use an approved correct shape for each product variant. Do not make one fixture serve models that need different geometry.
- 3Print the slugs
Use a 3D printer to make a dedicated slug for each model that needs a consistent fold.
- 4Standardize heating
Use the strip heater time and temperature settings so the shell reaches a repeatable forming condition before folding.
- 5Fold and clamp
Fold the heated shell around the matching slug and clamp it so the geometry is held in place.
- 6Cool in position
Place the clamped shell on the cooling rack until the shape is stable enough to remove.
- 7Label the slug library
Mark and store each slug by model at the point of use so the correct forming knowledge is easy to find and reuse.
Best used when
- model-specific forming
- fit-critical parts
- heated plastic shells
- many variants
- manual folding
Less useful when
- one-off work
- one common shape
- fully molded parts
- unverified geometry
Products and tools mentioned
- 3D printer: Additive manufacturing machine that builds custom parts, jigs, and fixtures from digital models.
- Strip heater: Used as a top and bottom heater with set time and temperature for each shell.
- clamp: Stored at the weld area for holding work.
- cooling rack: Supports the clamped shells after forming.
- plastic mesh: Used as part of the cooling rack described in the transcript.
- plywood: Layered wood panel used for fixtures, crates, and shop construction.
- sheet metal: Used as part of the cooling rack described in the transcript.
Tags
- Problem
- defectsvariationpoor fit
- Lean methods
- mistake proofingstandard workknowledge reuse
- Application
- formingholsters3D printing
Captured from Audacity Micro at Henry Holsters in the video "THIS is what a LEAN shop looks like - Lean Machine Shop Tour", at 00:16:07. On Lean Toolbox. Watch the original video on YouTube ↗