Strip Heater Forming Recipe: Set Time and Temperature for Each Shell
Use a top and bottom strip heater, set heat cycle, and matching 3D printed slug so each shell is formed the same way.
- Creator
 Audacity Micro
- Company
- Henry Holsters
- Wastes
Lightweight shells can be damaged or formed inconsistently when heating and folding depend on judgment, trial and error, or a method that is not suited to the part.
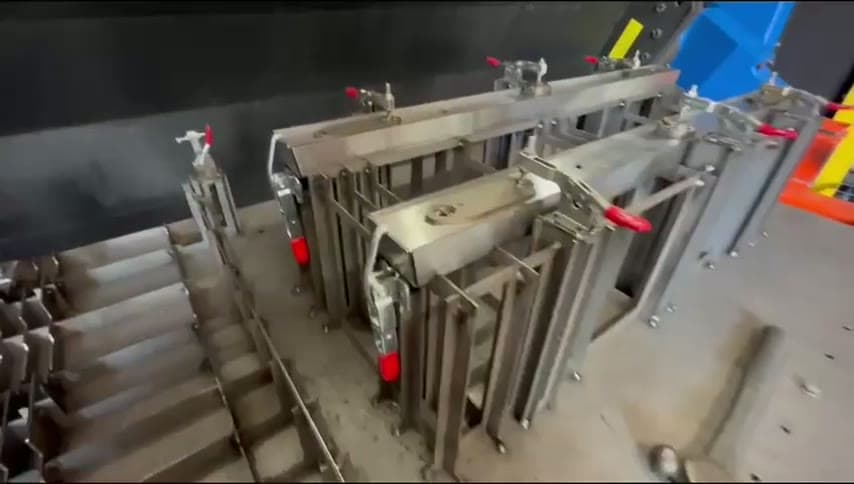
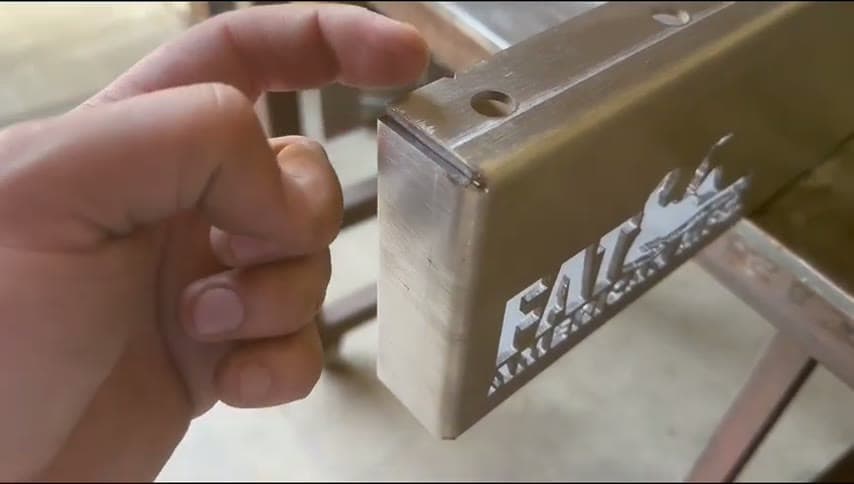
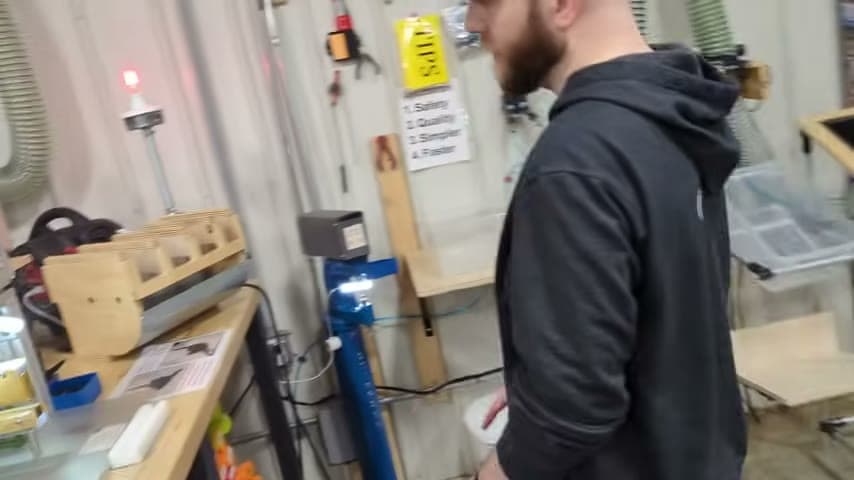
The team puts each shell in a top and bottom strip heater with set time and temperature, then folds the heated shell around a 3D printed slug for that gun model and clamps it.
Make proven process settings and fixtures visible, repeatable, and reusable.
What is a Strip Heater Forming Recipe?
A strip heater forming recipe is a standard method for heating a shell before folding it into shape. The recipe defines the heater temperature, heating time, and the matching forming slug for the shell.
In this example, the shell goes into a top and bottom strip heater with time and temperature settings. After heating, the operator folds the shell around a 3D printed slug made for that gun model, then clamps it.
The improvement is the reusable knowledge in the setup. The correct heat cycle and model specific slug are built into the work, so the next person does not have to rediscover how to form the shell.
Why it works
It turns a fragile forming step into reusable process knowledge that adds value and prevents repeat mistakes.
- Knowledge reuse: proven time, temperature, and slug selection are captured for each shell.
- Added value: heating is controlled around the forming need, instead of spending effort experimenting or correcting bad forms.
- Mistake-proofing: a model specific slug makes the correct shape visible and reduces the chance of forming around the wrong geometry.
- Consistency: top and bottom heating and a set cycle reduce dependence on operator judgment.
Evidence: The transcript states that shells go into a top and bottom strip heater with time and temperature settings, then are folded around 3D printed slugs made for every gun model.
How to create this idea
- 1List each shell
Identify every shell or model that needs heat forming. Give each one a clear label so the recipe can be matched to the part.
- 2Prove the settings
Determine the time and temperature that form each shell correctly. Record only settings that have been tested on the real part.
- 3Post the recipe
Keep the time, temperature, and matching slug information at the strip heater. Make it easy for any operator to select the known good setup.
- 4Make model slugs
Create a dedicated forming slug for each model, such as a 3D printed slug. Label each slug so it is not confused with another model.
- 5Heat, fold, clamp
Run the shell through the set heat cycle, fold it around the correct slug, and clamp it while the shape is held.
- 6Update from defects
If a shell is damaged or needs rework, check the recipe, slug match, and clamping method. Update the standard only after a better method is proven.
Best used when
- thin shells
- heat forming
- repeat models
- fragile parts
- fixture based forming
Less useful when
- one off parts
- no heat forming
- unproven design
- high material variation
Products and tools mentioned
- 3D printer: Additive manufacturing machine that builds custom parts, jigs, and fixtures from digital models.
- Strip heater: Used as a top and bottom heater with set time and temperature for each shell.
- clamp: Stored at the weld area for holding work.
Tags
- Problem
- defectsoverprocessingvariation
- Lean methods
- standard workmistake proofingknowledge reuse
- Application
- heat formingfixturesshell forming
Captured from Audacity Micro at Henry Holsters in the video "THIS is what a LEAN shop looks like - Lean Machine Shop Tour", at 00:16:02. On Lean Toolbox. Watch the original video on YouTube ↗