Trimmed Top Flange: Eliminate Weld Overlap Before It Creates Grinding
Remove excess flange material so the joint welds cleanly with a controlled bead instead of a gap-filling weave.
- Creator
 JCR Lean Ninjas
- Company
- JCR Lean Ninjas
- Wastes
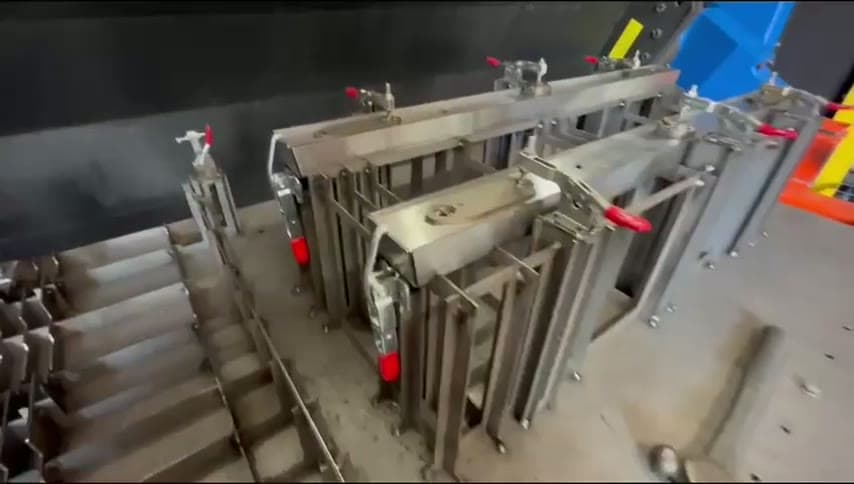
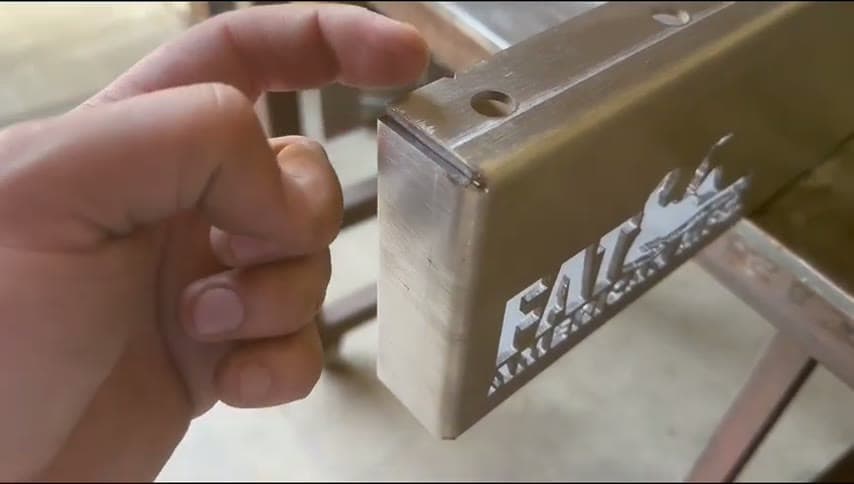
The top flange overlapped the seam, pushing the weld onto an edge and creating a joint condition that required extra fill and could lead to grinding.
The team removed material from the top flange so the seam sits in the joint. The revised geometry allows a clean non weave weld and should not require grinding.
Build proven fabrication knowledge into the part geometry so the correct weld is repeatable.
What is a Trimmed Top Flange?
A trimmed top flange is a design change where excess flange material is removed so two pieces meet at the intended weld joint instead of overlapping across the seam.
In the old version, the top flange overlapped and put the seam on an edge. The revised flange removes that interference so the welder can place a controlled bead directly in the joint.
This captures the lesson from the problem part in the design itself. Future builds reuse the corrected joint condition instead of relying on welders to compensate for bad fit with a large weave or grinding.
Why it works
The improvement turns weld fit knowledge into visible, reusable part geometry that adds value and mistake-proofs the joint.
- The corrected flange makes the intended seam location obvious and repeatable.
- Removing the overlap reduces the chance of filling the wrong condition with an oversized weave.
- The design prevents the same weld problem from being re-solved on each build.
- A joint that welds closer to finished condition reduces overprocessing from grinding.
Evidence: The transcript states that the top flange used to overlap, material was removed, and the revised joint should allow a nice non weave weld without needing to grind it.
How to create this idea
- 1Find recurring weld fixes
Look for joints where welders use a large weave, fill a gap, weld on an edge, or grind after welding. Treat these as signs that the part geometry may be wrong.
- 2Compare the old joint
Use the old part, photo, or drawing to identify where flange overlap, slots, or edge conditions force the weld into a poor location.
- 3Remove the interference
Trim only the material that creates the overlap. Aim for a joint where the bead can sit directly in the seam.
- 4Test the revised bead
Weld the revised joint and confirm that a controlled non weave bead can be laid without planned grinding.
- 5Update the standard
Save the corrected flange geometry in the drawing, cut file, or work instruction so the fix is reused on future parts.
Best used when
- overlapping flanges
- edge seams
- gap filling welds
- weld grinding
- repeat fabrication
Less useful when
- intentional lap joints
- one-off repairs
- no design control
- unverified strength changes
Tags
- Problem
- weld defectsgrindingoverprocessing
- Lean methods
- mistake proofingknowledge reusedesign for manufacturing
- Application
- weldingfabricationjoint design
Captured from JCR Lean Ninjas at JCR Lean Ninjas in the video "Make the fixture eliminate defects! AMR cart welding improvements.", at 00:01:22. On Lean Toolbox. Watch the original video on YouTube ↗