Color Coded Work Cell Tools: Match Every Tool to Its Home Cell
Color coding and labels make tool ownership visible so anyone can return the right tool to the right work cell.

- Creator
 WillytheMinimalist
- Company
- Hunter Trim & Cabinets Inc.
- Wastes
Tools can drift between work cells, end up in the wrong place, or become unclear to new employees. That creates wrong tool use, missing tools, and reliance on tribal knowledge.
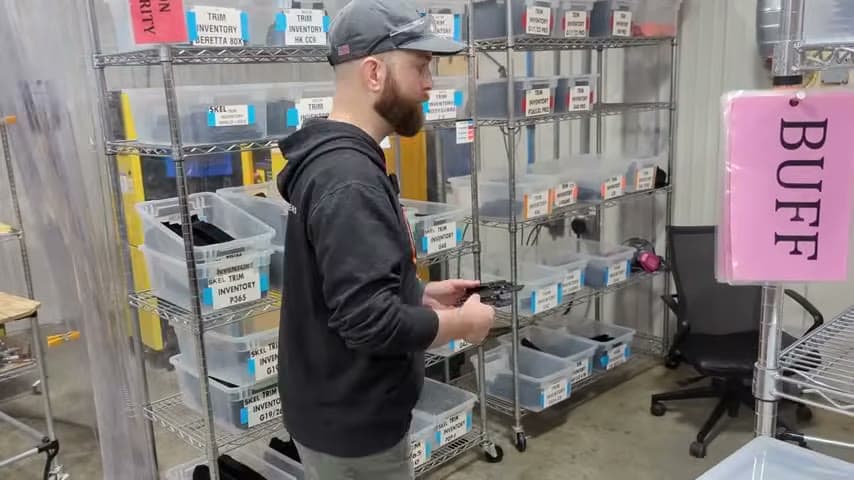
The team color coded and labeled tools to match the work cell they belong to. They also keep standard operating procedures at each cell with the basic instructions and expected standard.
Make proven standards visible so the correct choice is easy to repeat.
What is a Color Coded Work Cell Tools?
Color coded work cell tools are tools marked with a visual identifier that matches the cell where they belong. The color and label turn tool ownership into information anyone can see without asking.
The system works best when the tool marking, the tool home, and the work cell standard all point to the same answer. If a tool is in the wrong cell, the mismatch is visible immediately.
At the source cell, the visual tool system is paired with standard operating procedures. New employees can see the expected standard at the point of work instead of relying on memory or informal instruction.
Why it works
Color and labels reuse local knowledge by putting the correct tool assignment directly on the tool and at the cell.
- Reuses knowledge by showing which tools belong to which work cell without needing an experienced person to explain it.
- Adds value by helping people use the correct tools and follow the cell standard sooner.
- Mistake-proofs return by making a tool in the wrong cell stand out visually.
- Supports training because new employees can connect the tool, the cell, and the posted procedure.
Evidence: The transcript states that everything is color coded and labeled, that the tools are color coded to the work cell they belong to, and that standard operating procedures are at each cell.
How to create this idea
- 1Identify each cell
Give every work cell a clear visual identity, such as a color and label. Keep the scheme simple enough for a new employee to understand quickly.
- 2Mark the tools
Put the matching color and label on each tool that belongs to that cell. Make the mark visible when the tool is being used and when it is stored.
- 3Mark the home
Label the storage point or tool area with the same cell identity. The tool and its home should visibly match.
- 4Tie it to the SOP
Post the basic instructions and expected standard at each cell. Include tool ownership in the standard so the visual control and the procedure teach the same rule.
- 5Check during normal work
Scan for tools whose color or label does not match the cell. Treat each mismatch as a chance to improve the marking, the home location, or the standard.
Best used when
- multiple work cells
- shared tools
- new employees
- tool misplacement
- cell standards
Less useful when
- single workstation
- one user tools
- temporary layouts
- no fixed home
Products and tools mentioned
Tags
- Problem
- missing toolswrong toolstribal knowledge
- Lean methods
- visual managementstandard workmistake proofing
- Application
- work cellstool controltraining
Captured from WillytheMinimalist at Hunter Trim & Cabinets Inc. in the video "Lean Tour of Hunter Trim & Cabinets Inc.", at 00:02:42. On Lean Toolbox. Watch the original video on YouTube ↗