Color Coded Press Brake Programs and Tooling: Simplify Complex Forming Setup
Use matching colors on press brake programs and tooling so operators can choose the proven setup at a glance.
- Creator
 American Precision Engineering
- Company
- American Precision Engineering
- Wastes
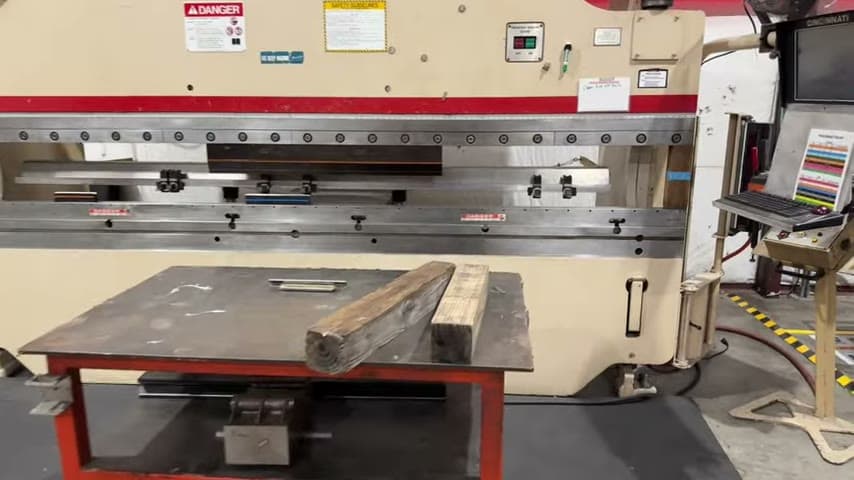
The press brake area handles complex forming, so operators must match each program with the correct tooling. When that setup knowledge is not visible, people can rely on memory, make the wrong tooling choice, or spend time refiguring a known setup.
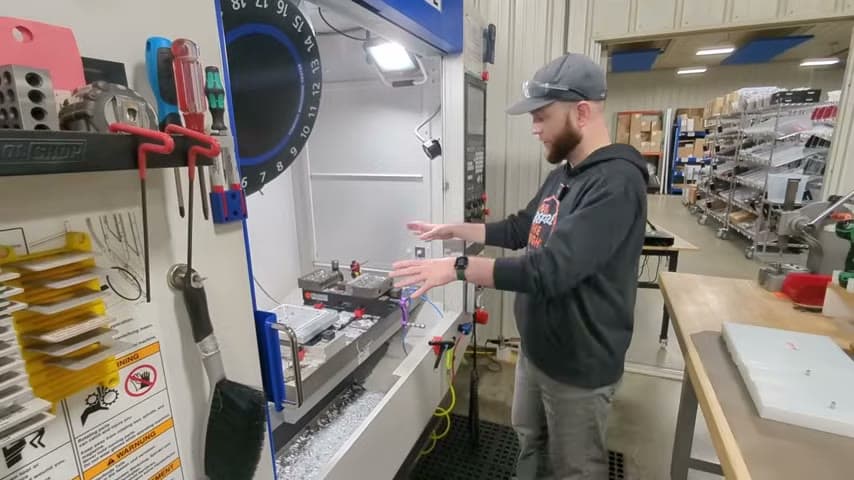
The team color coded the press brake programs and the matching press brake tooling. The color shown with the program corresponds to the color on the tooling, making the correct setup easier to identify.
Make proven setup knowledge visible and reusable at the point of work.
What is a Color Coded Press Brake Programs and Tooling?
Color coded press brake setup is a visual management method that links a press brake program to the tooling needed to run it. The operator sees a color in the program and matches it to the same color on the tooling.
In this example, the press brake area does a lot of complex forming. The team simplified the operation by using color cues on both the programming and the tooling.
The color code captures setup knowledge as a visible standard. Instead of depending on memory or individual experience, the correct program and tooling relationship is available to anyone using the press brake.
Why it works
Color coding helps operators reuse proven program and tooling pairings instead of solving the same setup problem again.
- Knowledge reuse: the correct relationship between program and tooling is captured in a simple visual cue.
- Added value: operators can focus more attention on accurate forming and less on interpreting setup requirements.
- Mistake proofing: a color mismatch makes the wrong tooling easier to catch before forming begins.
- Standardization: complex forming knowledge becomes easier to teach, repeat, and maintain.
Evidence: The transcript says the press brake area does a lot of complex forming and that the team uses color coded tooling, with colors on the programming and on the tooling, to simplify the operation.
How to create this idea
- 1Choose the match
Identify what must be paired correctly, such as each press brake program and its required tooling. Start with complex jobs or setups where wrong tooling is most likely.
- 2Assign clear colors
Give each setup family or tooling set a distinct color. Use colors that are easy to distinguish in the actual press brake area.
- 3Mark the programs
Add the color to the press brake program, setup screen, or setup instruction. The operator should see the color before selecting tooling.
- 4Mark the tooling
Apply the same color to the matching tooling or its storage location. Keep the mark durable, visible, and consistent.
- 5Make matching standard
Teach the rule that the program color must match the tooling color. Require a quick color check before running the job.
- 6Maintain the code
Update the color code whenever programs or tooling change. Check periodically that labels and marks are still accurate and readable.
Best used when
- complex forming
- frequent setups
- shared machines
- many tool options
- training operators
Less useful when
- single fixed setup
- few tool choices
- unstable standards
- colors hard to see
Tags
- Problem
- setup errorswrong toolingcomplexity
- Lean methods
- visual managementstandard workmistake proofing
- Application
- press brakeformingsetup
Captured from American Precision Engineering at American Precision Engineering in the video "Tour of APE's lean shop", at 00:01:21. On Lean Toolbox. Watch the original video on YouTube ↗