Wall Peg Home for Oversized Blower: Give a Large Tool a Clear Storage Spot
Wall pegs create a visible, repeatable home for a Makita blower that does not fit standard storage.

- Creator
- Hunter Trim & Cabinets
- Company
- Hunter Trim & Cabinets
- Wastes
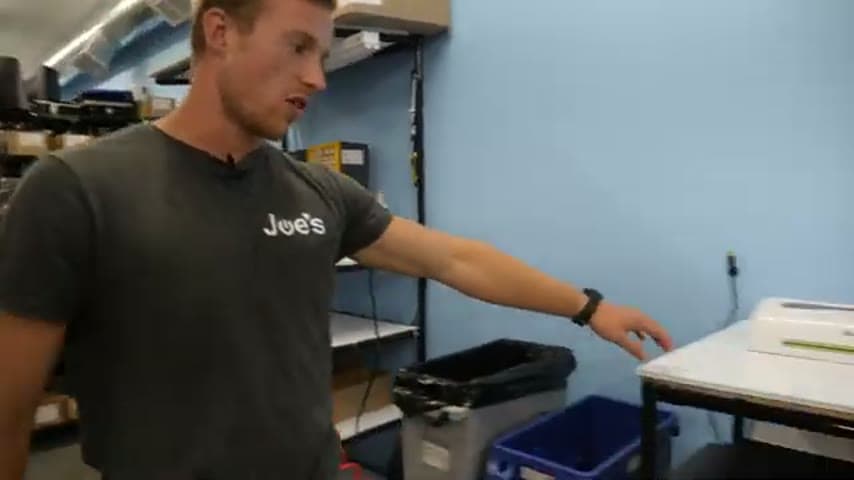
The new Makita blower was too large for the existing storage spots. It did not fit well when shoved into a compartment, and placing it on top looked messy and nonstandard.
The team installed wall pegs so the blower slides into a dedicated wall location and is held in place.
Make the correct home visible so people reuse the same storage answer every time.
What is a Wall Peg Home for Oversized Blower?
A wall peg home is a simple storage standard made from pegs mounted to a wall. The tool slides onto or between the pegs, which makes the correct position obvious.
In this case, the Makita blower was too big for the normal storage area. Instead of accepting a poor fit or a messy top surface, the team created a dedicated wall location.
The improvement captures a small piece of reusable knowledge: this is where the oversized blower belongs. Anyone who uses it can return it without guessing or creating a new storage habit.
Why it works
This works because it turns a one time storage decision into visible knowledge that the whole team can reuse.
- Makes the correct location obvious without asking where the blower goes.
- Adds value by keeping the blower stored in a ready, recognizable place instead of an awkward temporary spot.
- Reduces repeated problem solving because each user no longer has to test where the large tool might fit.
- Mistake proofs return by giving the blower a physical home that guides the same placement every time.
Evidence: The transcript says the blower was really big, did not fit well in the existing spot, looked tacky when placed elsewhere, and was then held by wall pegs.
How to create this idea
- 1Choose the awkward tool
Find a tool that does not fit current storage and keeps getting placed in temporary spots.
- 2Pick a visible wall spot
Select a location near where the tool is used and where the tool can be seen and returned easily.
- 3Test the fit
Hold the tool in the intended position and mark where pegs should support it. Aim for a simple slide in motion.
- 4Install the pegs
Mount the wall pegs at the marked spacing. Check that the tool is supported and does not shift during normal storage.
- 5Standardize the home
Return the tool to the peg location every time. Add a label or outline only if the home is not obvious enough.
Best used when
- oversized tools
- awkward storage
- shared equipment
- point of use storage
Less useful when
- unsafe wall mounting
- tools needing protection
- existing storage fits
Products and tools mentioned
- Blower: The oversized Makita blower that needed a clear home.
- Wall storage pegs: Mounted on the wall to create the dedicated holder.
Tags
- Problem
- unclear storagetool clutterno home
- Lean methods
- 5Svisual managementmistake proofing
- Application
- tool storageshop floorCNC area
Captured from Hunter Trim & Cabinets at Hunter Trim & Cabinets in the video "Lean Improvements 7/31/26", at 00:07:02. On Lean Toolbox. Watch the original video on YouTube ↗